
Fall has finally arrived. Celebrate by baking an incredibly delicious Harvest Cake. It’s so simple and so versatile. It’s a “dump” cake therefore no need to even use a mixer. Just get a couple of bowls and baking pans. You are set. Kids love to help.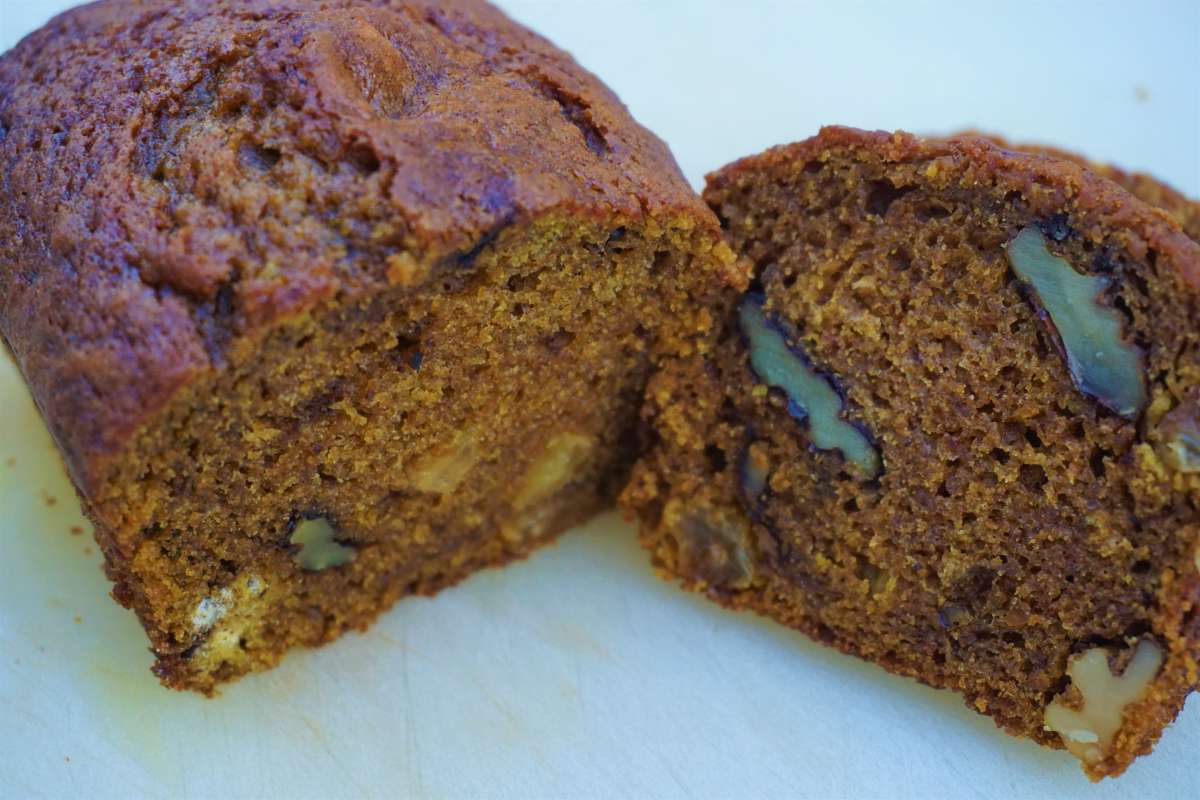
This recipe gets my “incredible” label since you can use it for many types of cakes. It keeps at room temperature or in the frig for days and even gets better with age. The cake will freeze for months and can even be sliced when frozen. Now what is not to like about that?
You can bake it in loaf pans, make cupcakes with the batter, or use any pan or casserole. Since it is so versatile, I’d recommend at least doubling the recipe and have a dessert always ready for guests or for that last minute “pitch-in” that can be so troubling. Or maybe just for you when you need a touch of sweet. Remember, it cuts frozen. If you have big needs for fall desserts for instance, triple the recipe. It will work. Once my BSU students made a very large batch – big enough to fill a couple of 5-gallon buckets. They then had a bake sale delivering dozens of pre-paid cupcakes all over campus. Great money maker and so easy.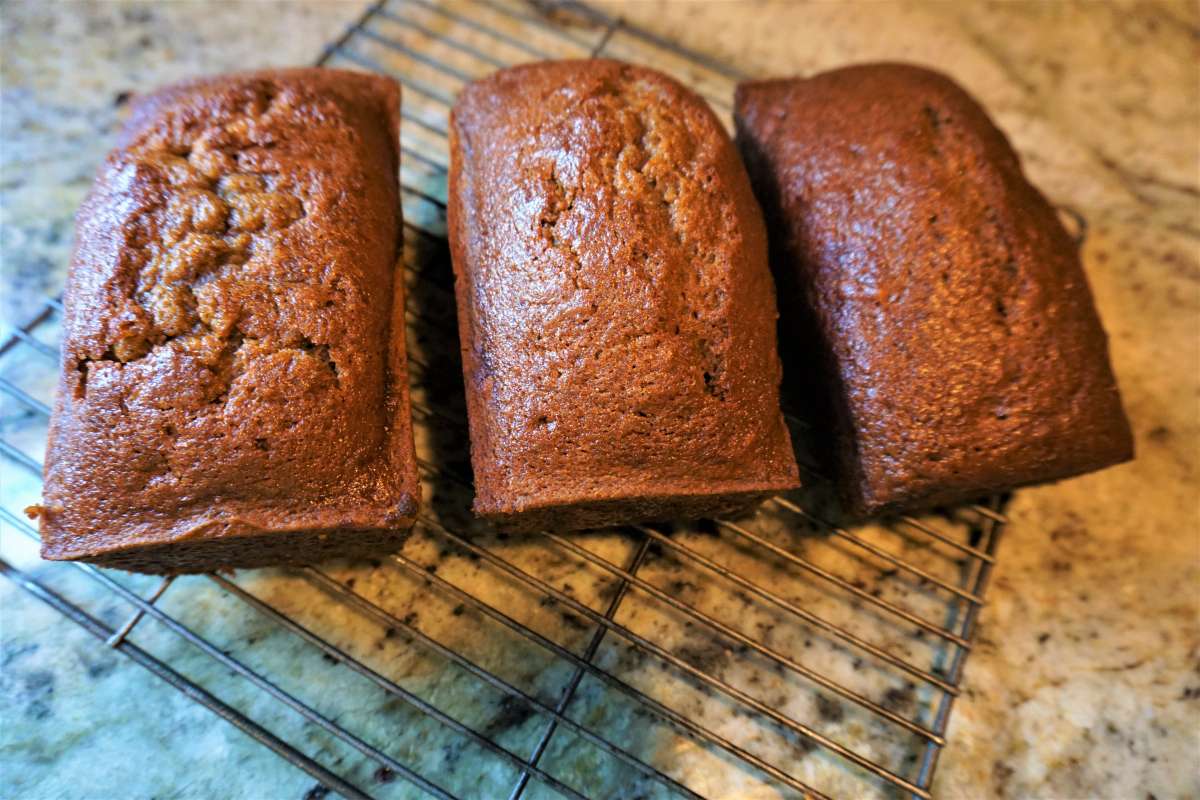
Everyone loves the Harvest Cake. The warm, spicy flavor makes one happy and the baking aroma will fill your home with thoughts of gracious hospitality of the fall season.
This recipe came from my husband’s Aunt Lucille. Actually, I think she got it from the label on a can of pumpkin. She made a few changes and, as a result, called it hers. However, don’t tell my husband I shared that information. He is quite confident he invented the recipe. All he has ever done was to name it “Harvest Cake” although he usually calls it “Bill’s Harvest Cake” and eats lots of it. When you taste it, you will understand about eating “lots of it”. You’ll want to do the same. Here is the recipe:
Harvest Cake Recipe
Yield: 8 cups (64 fluid ounces) of batter
2 cups granulated sugarRe
1 cup, packed brown sugar
1 cup vegetable oil
4 eggs
.66 cup water
2 cups pumpkin, canned (drain well if using cooked fresh pumpkin)
½ teaspoon baking powder
2 teaspoons baking soda
1 teaspoon nutmeg
1 teaspoon cinnamon
1 teaspoon cloves, ground
1 teaspoon allspice
3.5 cups flour, all purpose
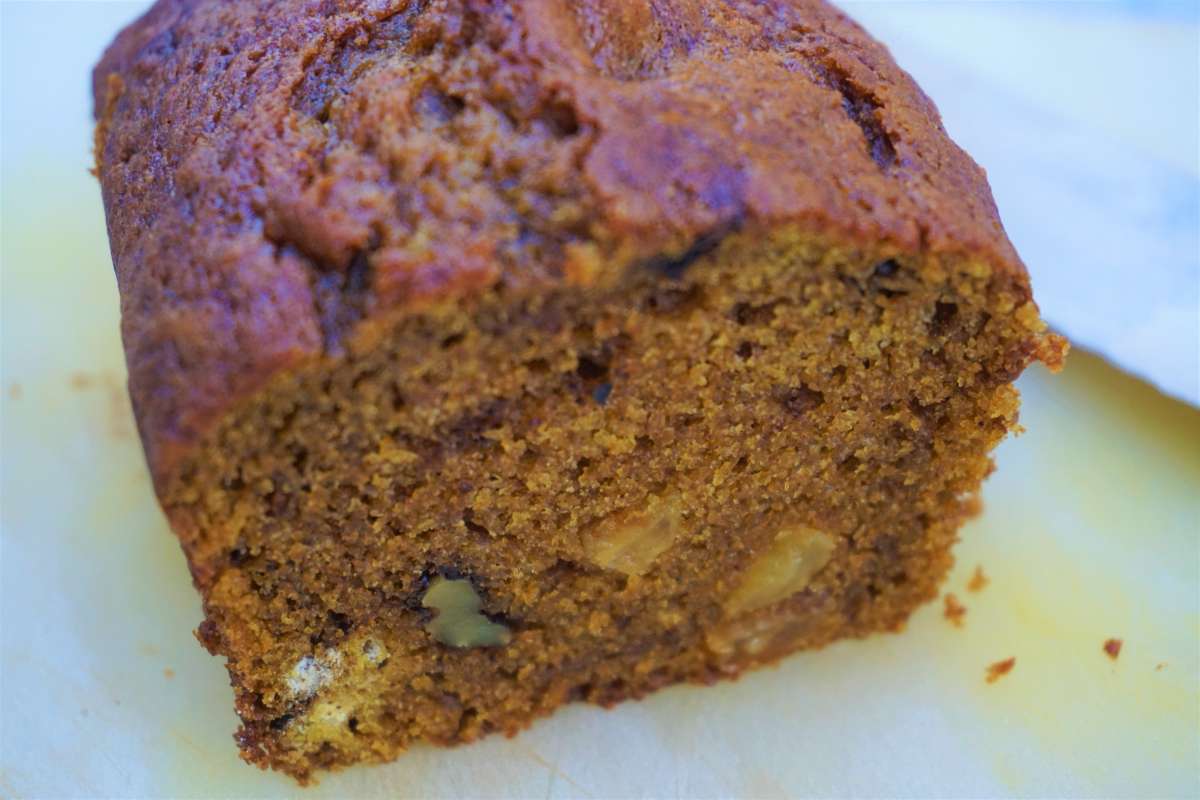
1 cup walnuts
1 cup raisins, golden, if possible
Prepare baking pans by lining the bottom with parchment paper or waxed paper. Spray with pan spray. Set oven at 350 degrees.
Place sugars, oil, and eggs in a bowl. Stir to combine. Add water and pumpkin. Mix well. Set aside.
In a separate bowl add all the dry ingredients. Stir to combine. Add liquid mixture to dry ingredients. Stir until there are no visible streaks of flour. Add walnuts and raisins. Stir well.
Fill pans only about half or two-thirds full. Bake until cake is golden brown and a knife is clean when inserted in the middle of the cake. Baking time will vary with the size of pan. Usually a small loaf pans takes about 30 minutes. Allow to cool about 5 minutes in the pan. Run a sharp knife around the sides of the pans to loosen the cake. Invert cake on a cooling rack. Remove the pan and the paper liner. Set right side up on the rack to completely cool.
The cake is lovely to eat even when warm, however, it will cut much neater if cooled completely. It freezes well and can even be cut frozen. Serve thick slices of the cake plain or serve with a scoop of homemade cinnamon ice cream to really raise the status of this dessert. It can also be made into cupcakes which are great for lunch boxes or for after school/work snacks. Enjoy!